
Info: Machine translation This post was machine-translated from the Chinese original. Wording may be rough in places — the Chinese version is authoritative.
Summary From installation and shortcuts to programming assistants and local models, it explains Omaly’s features and getting started with it. HyphenTech · 2026-09-07
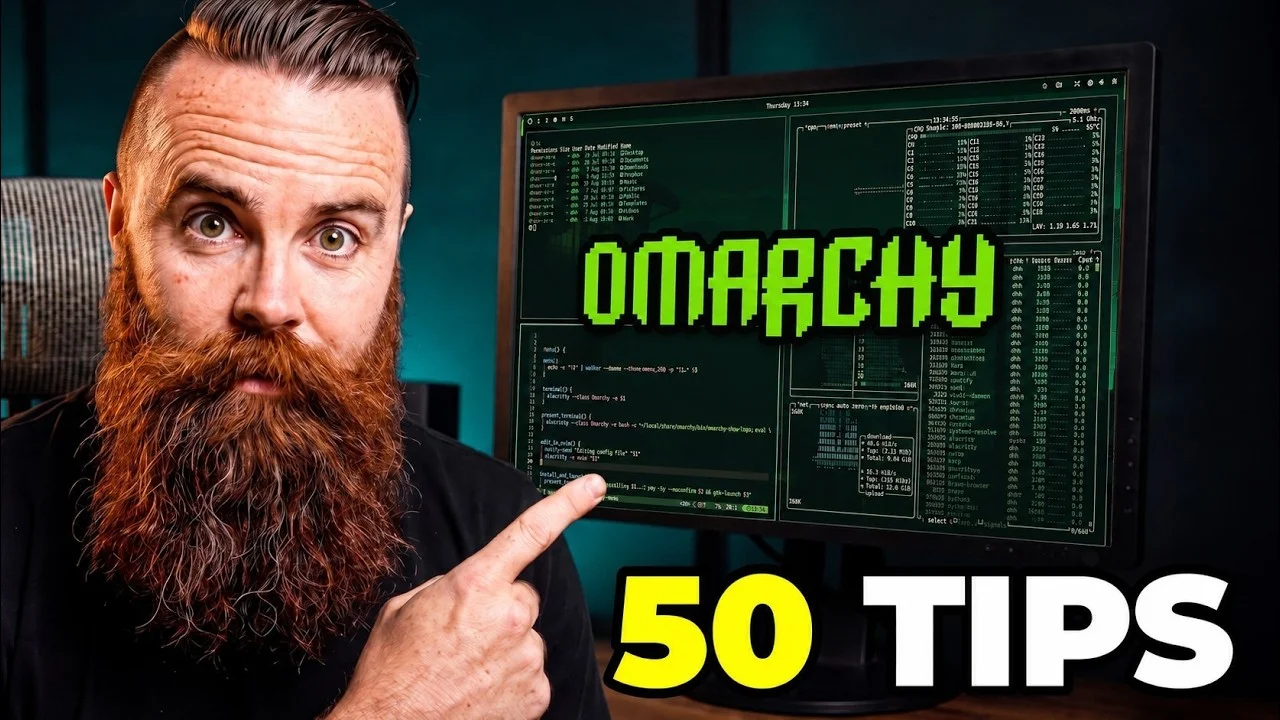
If you want to tinker with Linux on a computer and put AI programming, local models, and daily office work on the same desktop, I’ll first see if it can smoothly connect these tasks. Here’s what Omarchy is worth studying: windows, terminals, themes, and AI entry points are all ready and ready, so once installed, you can follow the habits and start using them.
First, make sure the name is Omarchy. It was initiated by DHH and is based on Arch Linux, Hyprland, and Quickshell. Arch provides system and software packages, Hyprland manages the window, and Quickshell supports desktop components. The official website currently downloads version 4.0.2; following the official manual from September 7, 2026, I will not write the official demo as my hardware test.
References: Project Introduction and Current Downloads
1. Check the desktop first: The main thing saved is the time spent on matching
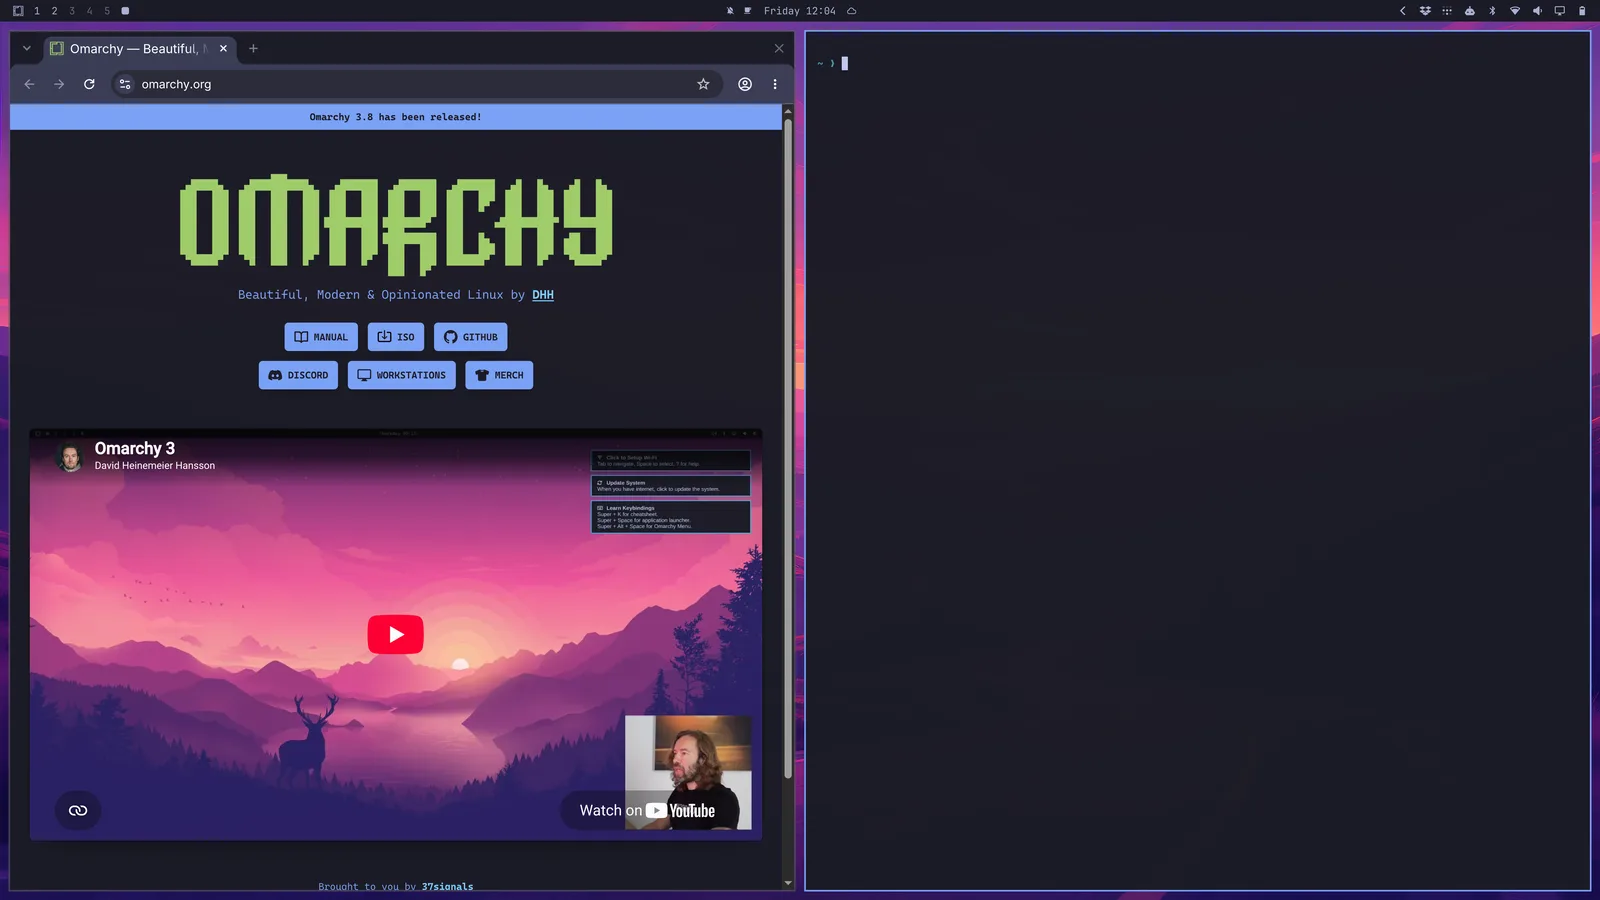
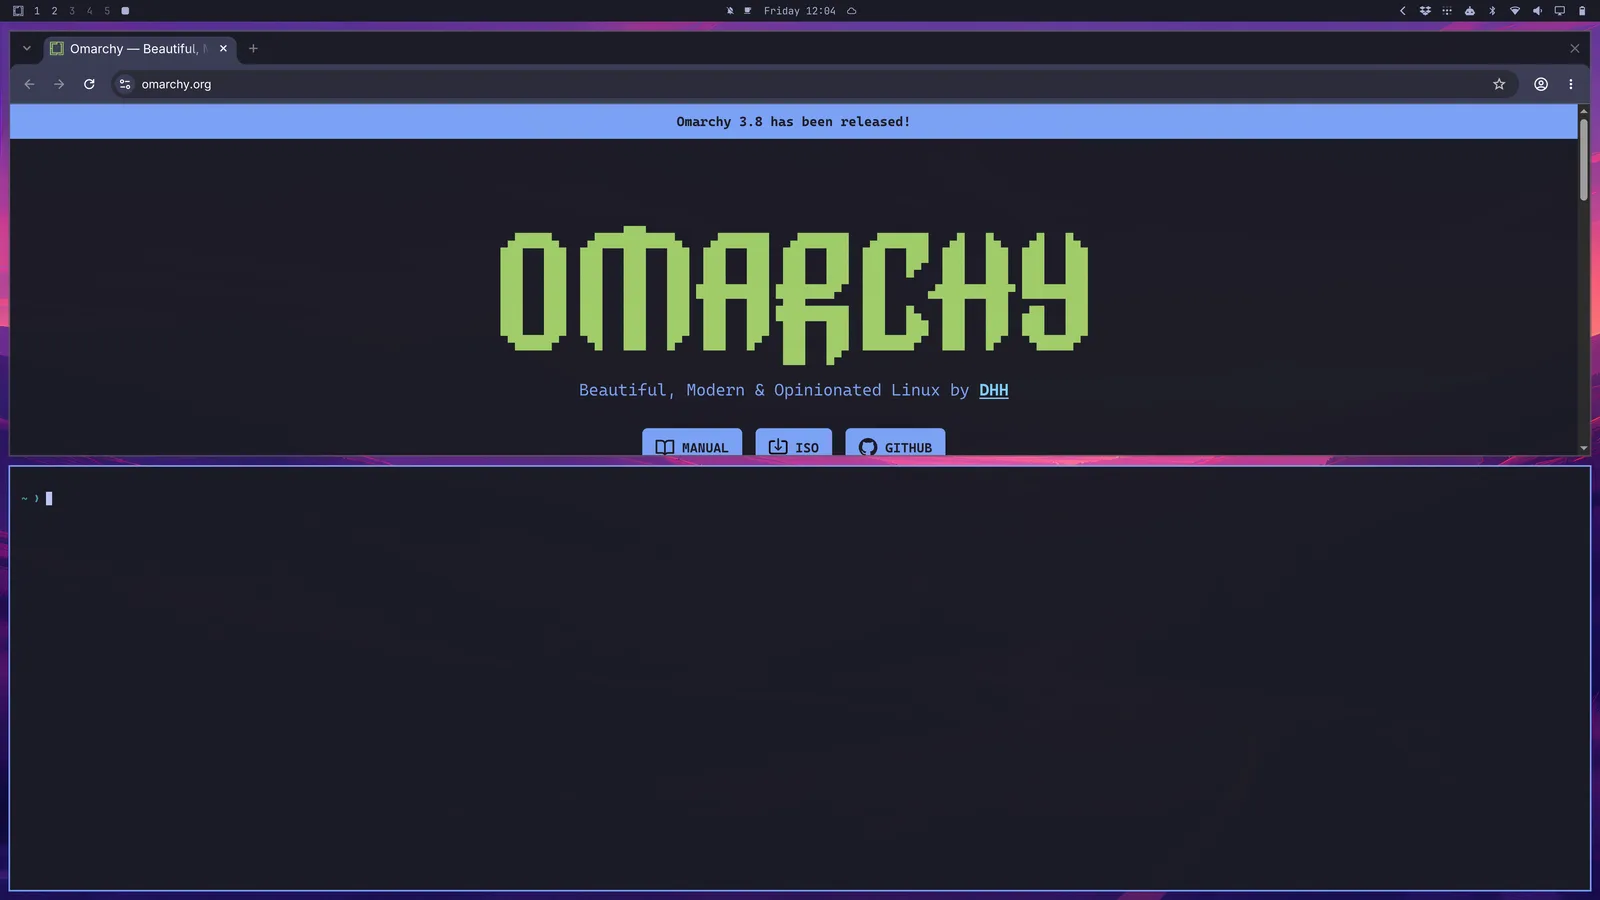
Open the terminal, then the browser, and the window will automatically assign positions. You can read documents on the left and execute commands on the right; Switch to another workspace and place the editor and projects. For those who frequently switch between web pages, terminals, and code, this is easier to form fixed actions than repeatedly dragging windows. The mouse is still usable, but the keyboard is the main entry point to this desktop setup.
It also offers a unified redressing system. Select Style → Theme in the main menu, and the theme will link with the desktop, terminal, Neovim, and top bar components. Obsidian needs to manually select the Omarchy theme in the Appearance → Themes app. Note this small difference first to avoid thinking the system is wrong if the notes don’t change color.
Reference: Window Navigation
Reference: Theme Settings
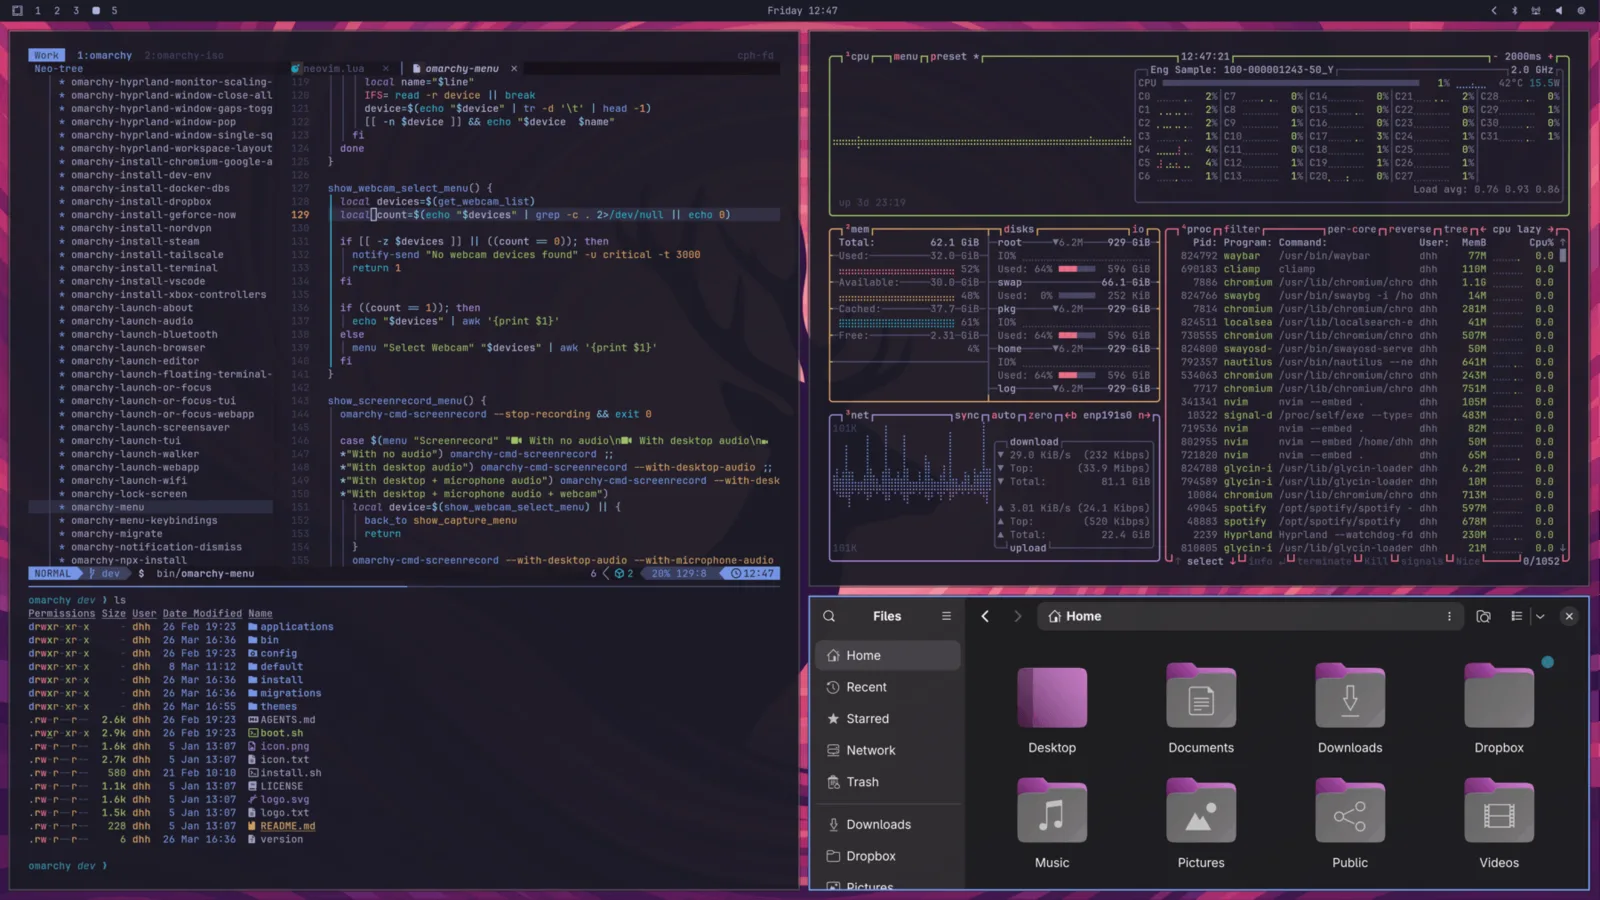
Everyday software isn’t just about coding: the official list includes Chromium, Obsidian, LibreOffice, Kdenlive, and OBS Studio. The default editor is Neovim, but you don’t have to learn Vim just to use the system; You can also install other editors in the menu. The development language version is managed by Mise, so different projects can use their own environments.
Reference: Preset Applications and System Components
Reference: Development Tools
My judgment is that it’s suitable for those willing to learn shortcuts and want to set up a development environment. You only need a browser and office software to use these applications, but there’s no need to switch your main system just for “AI.” First, check the software, input methods, peripherals, and games you can’t live without, then decide whether to migrate.
2. Installation: First, decide whether to keep the original system
First, go to the download page from the official website, obtain the ISO installation image, and verify the SHA-256 provided on the same page. Windows can run the following command in PowerShell to replace the file name with the actual downloaded file; The output hash must exactly match the official website values for that version.
Get-FileHash .\omarchy.iso -Algorithm SHA256
Use balenaEtcher to write the image to the USB drive; writing will clear the USB drive’s contents. Restart the computer and select the USB drive from the firmware boot menu. Before booting, read the Secure Boot requirements on the current installation page; For machines involving Windows encryption, save the recovery key and important data first; do not delete the TPM before you understand the impact.
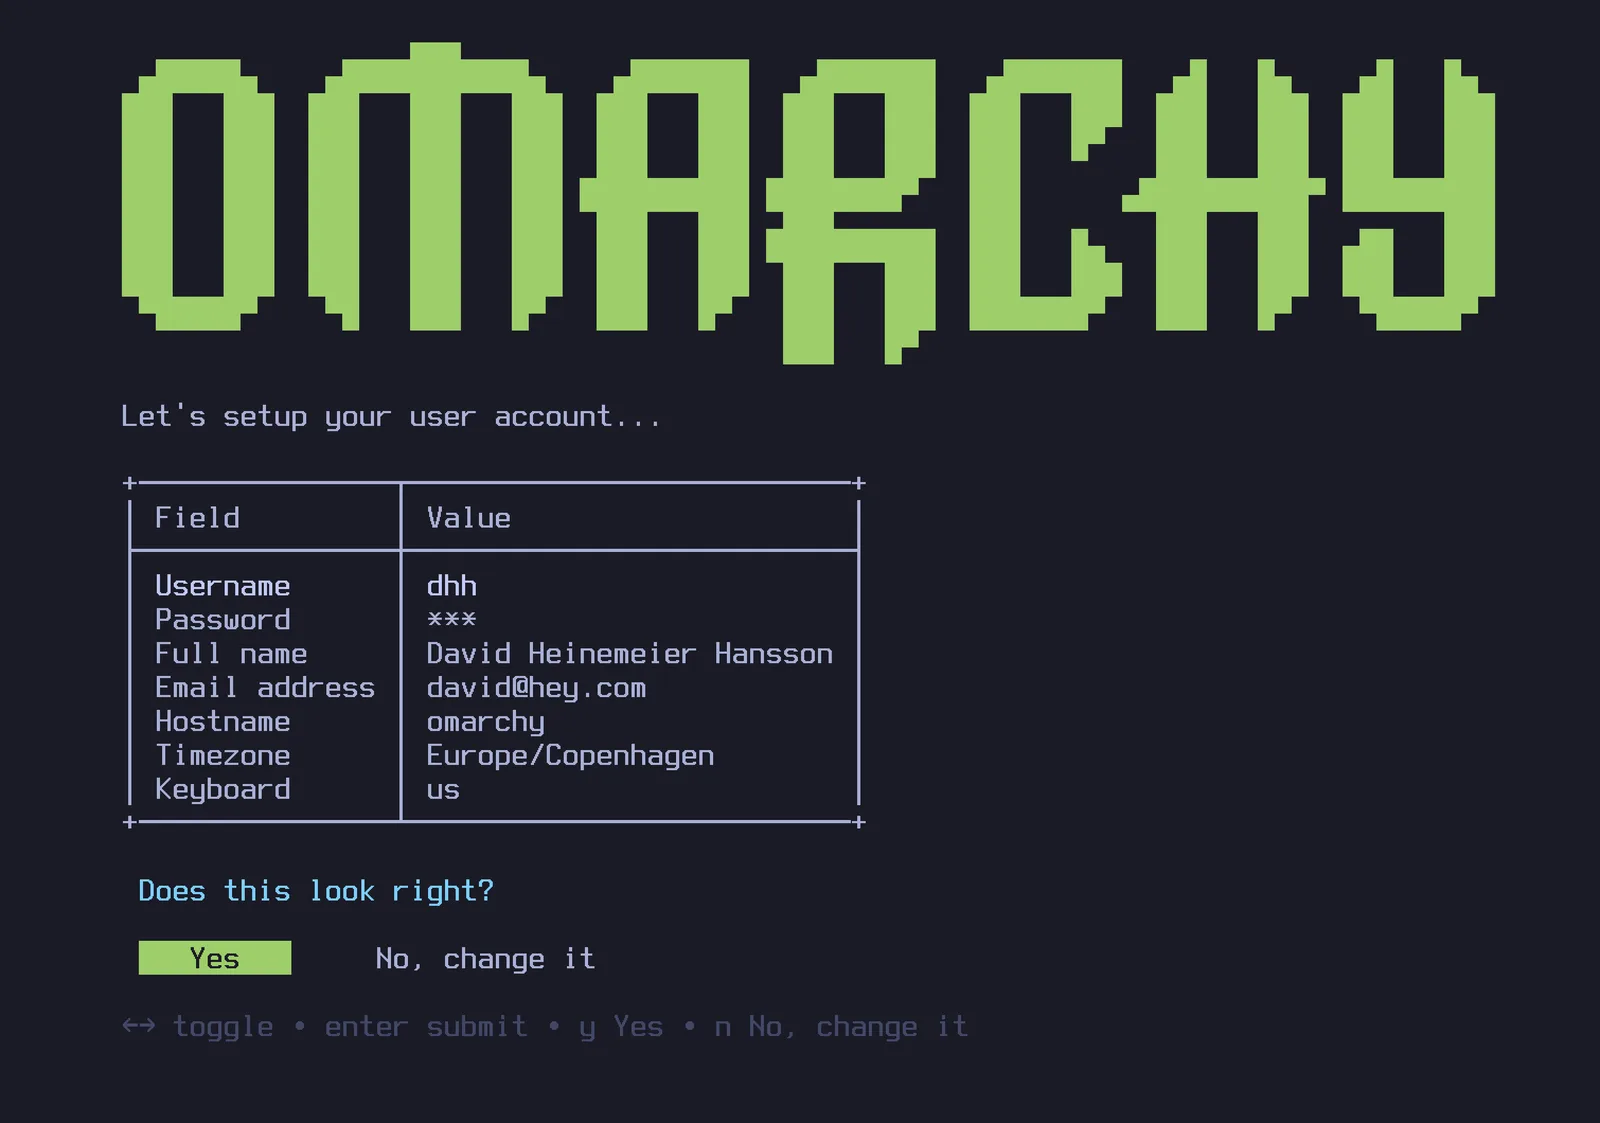
Next, follow the installer to fill in the keyboard layout, user, password, and other information. **The real step to slow down is selecting the disk: Full-disk will clear the entire selected hard drive. ** Beginners can use a dedicated empty drive to judge better; verify the model and capacity before confirming. Encryption is enabled by default. To unlock on startup, prepare a wired or 2.4GHz receiver keyboard; do not expect a Bluetooth keyboard to enter the password at this stage.
Reference: Official installation process
If you want to keep Windows, the official process for dual systems on the same disk is provided in the current manual: First, compress the volume in Windows Disk Management to leave unallocated space; After entering the installer, select the corresponding disk, then choose Free space install. Don’t confuse “free space installation” with “whole disk installation.” The official 50GB is just a demonstration capacity; when storing local models, extra space should be reserved.
This process requires first turning off BitLocker/Device Encryption on Windows and waiting for decryption to complete. When the machine is managed by a company, first confirm whether you can change this setting. After installation, if Windows is not listed in the Limine startup menu, you can follow the scan command below according to the manual and follow the prompts to add startup items.
limine-scan
Reference: Dual-System Retention Process for Windows
3. After entering the table, practice these movements first
Super is usually the Windows key on the PC keyboard. First, open the menu, terminal, and browser, then practice switching windows—no need to memorize the entire shortcut key list on the first day. The table below is organized according to the current official shortcut key page; After making your own bindings, use local settings as the standard.
| What to do | Shortcut keys |
|---|---|
| Open the main menu | Super + Space |
| Open the terminal | Super + Return |
| Open your browser | Super + Shift + Return |
| Open the file manager | Super + Shift + F |
| Switch the focus window | Super + arrow keys |
| Switch workspaces | Super + figures |
| Move the window to the workspace | Super + Shift + Numbers |
| Close the current window | Super + W |
| Open the network panel | Super + Ctrl + W |
Reference: Complete Shortcut Key List
You can practice by following this example: open the browser and terminal in Workspace 1, press the Super + arrow key to switch focus, move the terminal to Workspace 2, then switch over and continue working. After this round, you’ll be able to “leave the document in one place and the project elsewhere,” rather than the desktop getting more cramped.
After connecting to the internet, update in the main menu’s Update → Omarchy. New installations use stable by default; The official system also provides RC, edge, and dev channels. For the first time, just keep it stable. First, restore the browser, sound, input, and sleep to normal, then experiment with faster update channels. The acceptance point after installing the system should be that you can complete daily tasks.
Reference: Update and Channel Instructions

4. How to use AI: Start by completing a small project
The current system provides delayed installation and startup portals for programming agents like Claude Code, Codex, OpenCode, and only downloads the corresponding tool on the first call. Having an entry does not mean giving you model quotas: Use the model provider, follow its login, subscription, or API rules. First, choose one tool to run smoothly; there’s no need to install all the names once.
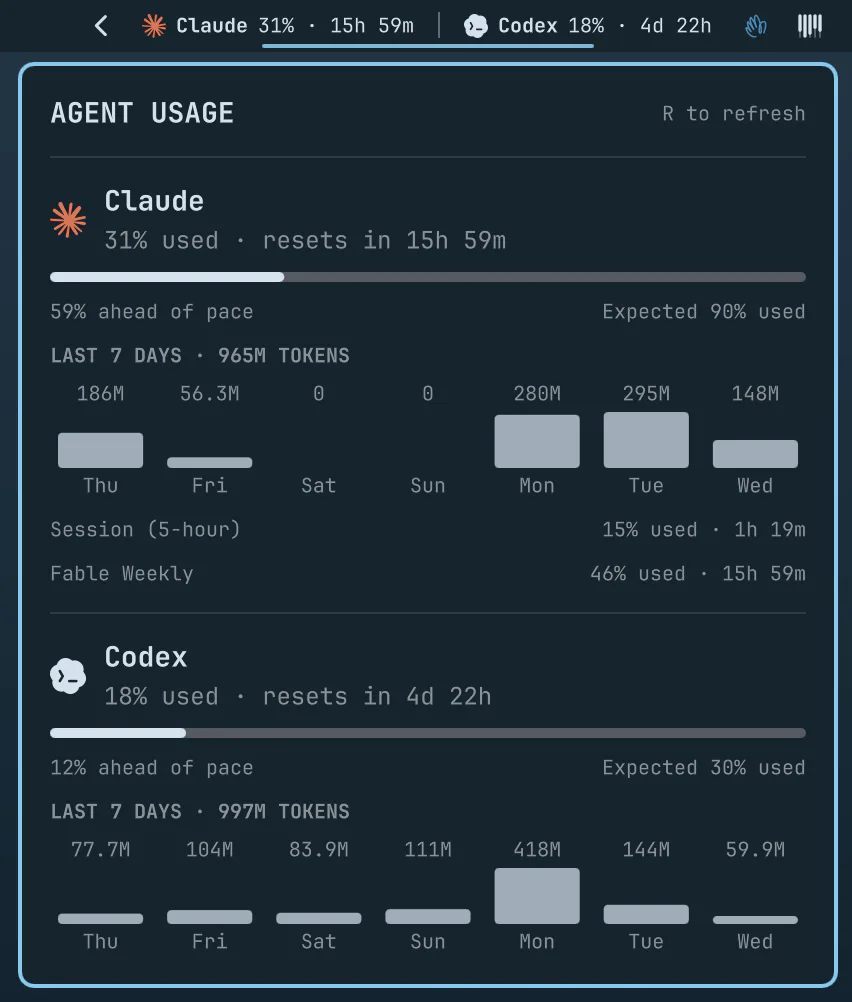
You can start with OpenCode. Create a separate practice directory in the terminal, then launch the tool after entering; The first run follows its connection prompt to select a vendor and complete certification. Here, full commands are used, not shortcuts for automatic approval operations.
mkdir -p ~/Work/omarchy-demo
cd ~/Work/omarchy-demo
opencode
After logging in, assign it an easy-to-accept task:
Please make a plan first: Create a Chinese to-do list webpage in the current directory, using only HTML, CSS, and JavaScript, without adding third-party dependencies. You need to add, complete, or delete tasks, and keep records after refreshing. Specify which files to create before execution.
After reviewing the plan, let it run it. Once completed, open the generated page, personally add two tasks, complete one, delete one, and refresh the check record. If the button doesn’t work or refreshes and loses data, just send the reproduced action and error back for repair. The key here is to turn “finished” into a result you can check; The webpage is just a practice question, not a case already run.
If you want the system to remember commonly used Agents, you can go to Setup → Defaults → Agent. However, the official AI page clearly states: the default Agent shortcut entry, as well as convenient startup methods like a, c, cx, cy, etc., may use unattended or automatic approval modes. Beginners should first use the full command and select the planned mode or itemized approval in the tool; A single phrase “Don’t modify yet” cannot replace actual permission settings.
The built-in Omarchy Skill helps the Agent understand system configuration, suitable for starting by explaining existing settings and proposing topic modification plans. Before making it work, back up the relevant files and only change one target. The official label is experimental and should not be interpreted as “readable configuration” as “inevitable correction.”
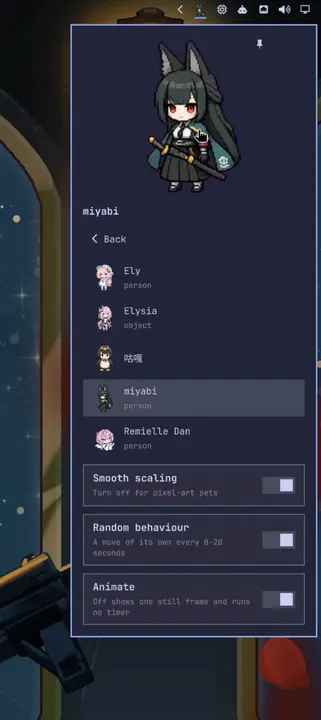
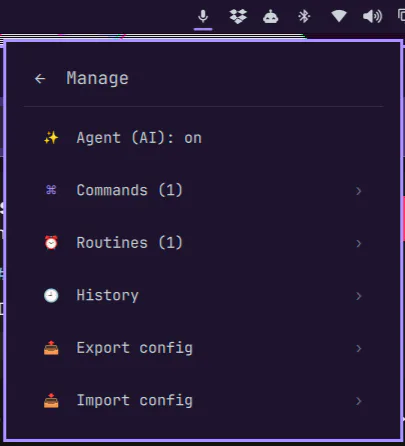
The biggest change in this design is that the agent’s scope has expanded from “changing a project directory” to “reading and modifying the desktop itself”: themes, top bars, Hyprland configuration, Quickshell plugins, and crash logs can all be integrated into the same workflow. The official homepage also lists “crash notifications → default agent analyzing coredump → deciding whether to report” as system capabilities. In actual use, treat it as auxiliary diagnostics rather than treating the agent’s judgments as security audit conclusions.
Reference: Agent entry, default settings, and permission boundaries
5. How to get started with local AI and voice input
Cloud programming assistants and local models are two main routes. The former depends on the corresponding service, while the latter downloads the model to your own computer and then performs the inference. The Install → AI in the system menu provides the LM Studio and Ollama installation portals. You can choose the graphical interface from LM Studio: find the model, download, load, and then ask questions in the chat page; Whether each model fits your memory and graphics card needs to be judged individually.
Reference: Getting Started with LM Studio
If you prefer a terminal, you can choose Ollama. First, use a small model to validate download, service, and conversation processes; there’s no need to pursue the maximum parameters. Below, we’ll use qwen3:0.6b, which is still available from the official model library, as an entry-level example; It’s not a performance test on this machine, nor does it represent high-quality programming capability.
ollama run qwen3:0.6b
The first run requires an online download. After entering the dialogue, you can have it “explain the Linux workspace in three sentences”; type /bye to exit, then use the following command to check the existing model and current loading status on the machine. Only when the model can be seen and text returned does the basic link work properly.
ollama list
ollama ps
Reference: Ollama Quick Start
Reference: Qwen3 Small Model Entry
To determine whether offline usage is possible, disconnect from the internet after downloading and repeat the same problem. This test only applies to the local model you select; It cannot prove that browsers, cloud agents, or other plugins are not connected to the internet. Besides model files, runtime memory is also needed; long contexts will further increase usage, so you cannot directly use download package size as a video memory requirement.
Reference: Ollama Memory, Context, and Local Operation Instructions

The other two features are very practical: press Super + Ctrl + PrtScr to select the screen area, and the system uses Tesseract OCR to place the recognition results into the clipboard. It’s suitable for extracting an address or text from a screenshot, and before pasting, you still need to check for typos, especially commands and numbers.
Voice input is installed from Install → AI → Dictation. After installation, hold F9 to speak, or use Super + Ctrl + X to switch dictation. The official default model is English-oriented. If you want to speak Chinese, run Voxtype Setup Model first, select a suitable multilingual model, then try a sentence in a regular text box. Don’t assume that installing will guarantee accurate Chinese dictation.
voxtype setup model
Reference: OCR and Speech Dictation
6. Updates and AI configuration changes must leave a backup plan
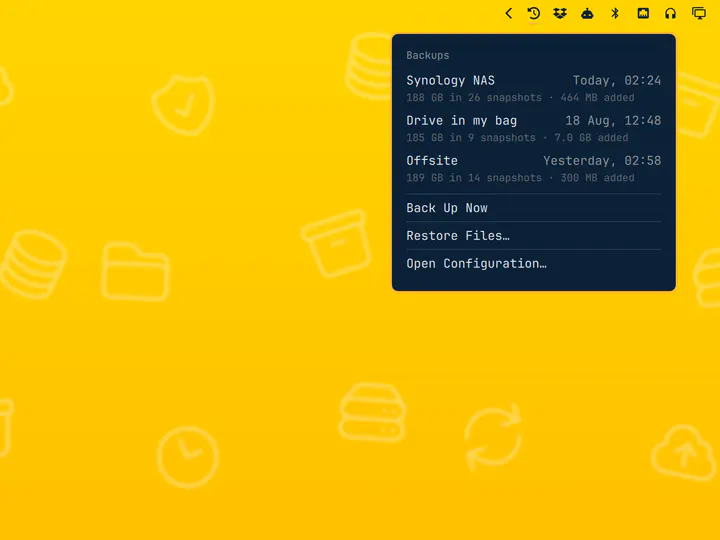
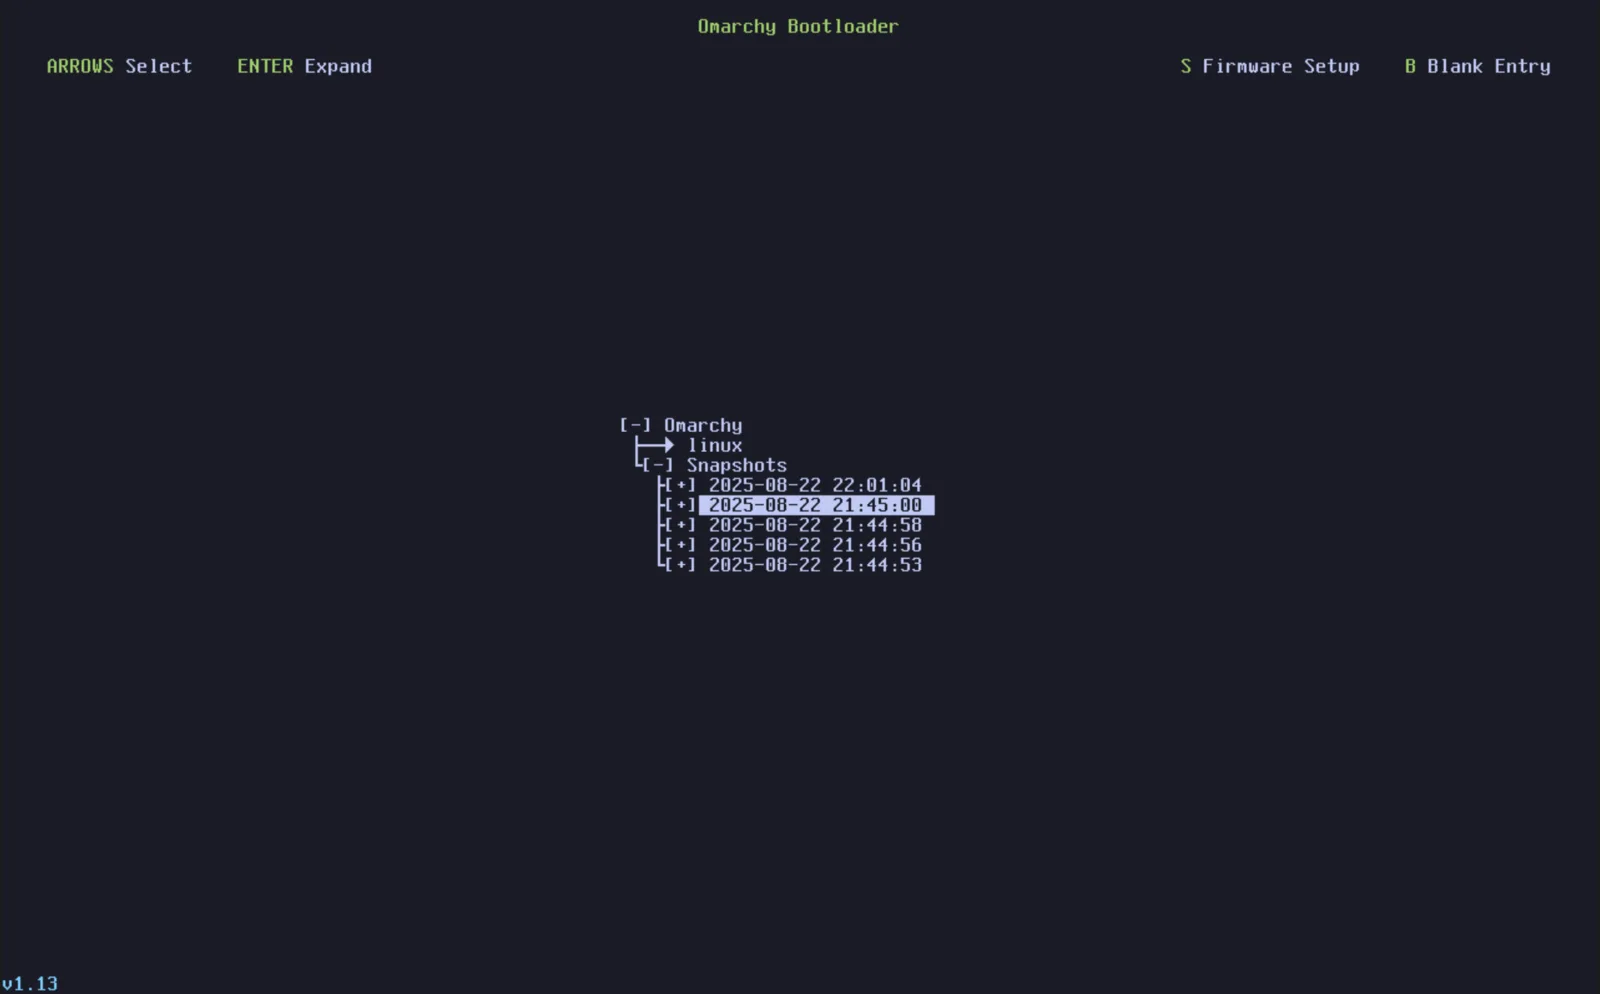
Each system update automatically creates a snapshot, or you can manually run the following command. When you need to recover, select the snapshot from the Limine startup menu for the corresponding date, then follow the recovery notification after entering. This is suitable for handling situations where the system does not work properly after an update.
omarchy-snapshot create
**Snapshot restoration is for the root file system, not /home. ** Your documents, projects, and ~/.config still need to be backed up separately. Therefore, if AI changes personal configurations, rolling back the system may not solve the problem. First, copy the file to be modified, note the restore location, then have the Agent modify it; For the project, use Git to record the differences before and after modifications.
Reference: Snapshot coverage and recovery methods
For first-time users, I recommend checking in this order: can connect to the internet and input normally; can use shortcut keys to manage windows; exercises project buttons and save functions are available; local small models can answer questions; finally, confirm where the backup is and how to restore it. After these steps, consider migrating real work into the system.
The appeal of this Linux to AI users lies in integrating tool entry points with desktop operations. You still need to select models, check fees, review results, and maintain your own data. If you’re willing to learn these, first use the practice environment to achieve a small result; Completing the process from operation to acceptance is more useful than collecting a long list of pre-installed software names.
7. Supplement a set of verifiable usage records
While writing, I performed four verifiable checks: downloading screenshots of the official manual and verifying the actual file format; reading screenshot sizes and SHA-256; requesting official links in the body one by one; and checking agent commands, shortcuts, and snapshot boundaries against the current AI manual. They verify the data and release link, not that I have completed installation on a physical Omarchy machine.
| Check | The result | Meaning |
|---|---|---|
| Official screenshot download | navigation / themes / updates / snapshots / OCR all return 200 and can be decoded by Pillow | Images are not webpage spaced or corrupted files |
| Version verification | The official website currently downloads Omarchy 4.0.2; AI, installation, and update pages are accessible | The article is written according to the current manual, with older screenshots marked separately |
| Local model entry | Ollama’s official page lists qwen3:0.6b, showing 523MB, Q4_K_M, Apache 2.0 | You can first use small models to verify the chain, rather than treating it as a performance test |
| Risk regression | The official note says snapshots are not restored /home; The AI manual labels Omarchy Skill as experimental | Configurations and projects still need to be backed up separately; the Agent plans first and then changes |
To let readers reproduce it themselves, I compressed the process into a minimal acceptance chain: first check SHA-256 from the official ISO page, then complete a shortcut window switch; After installing Ollama, run qwen3:0.6b to run ollama list and ollama ps; Finally, create a snapshot to confirm it can be found in Limine. Each step has a visible result; if any step fails, stop fixing it and don’t migrate to the real project.
HyphenTech’s DIY tools
Below is the tool entry for HyphenTech’s maintenance; These are not pre-installed software from Omasy; please refer to their respective release pages for system compatibility.
- HyphenBox: Free model API radar and local unified routing. Official iteration (starting from 1.0.0), Mac, Windows, and Linux installation packages are now available.
- LocalBrain: A local AI toolbox that centrally manages transcription, voiceover, raw images, video, and MCP.
- ScreenLex ScreenLex: Organize local movie subtitles into a reviewable English vocabulary for offline use.
🧰 Tools I build
I maintain all of these tools myself. Preview builds are clearly labeled; the release pages are the source of truth for downloads, updates and known limits.
Info: HyphenBox Status: Official releases
A radar for free LLM APIs: availability is re-tested continuously, one local interface for all of them, and keys stay on your machine
Info: LocalBrain Status: Official releases
A multimodal MCP toolbox for local models: TTS, Whisper and video generation in one place
Info: ScreenLex Status: Official releases
Learn new words while you watch shows. Free, for Mac and Windows
Info: HyphenScreen Status: Official releases
Screen recording and smart editing in one: a DaVinci-style timeline, automatic redaction and a check of the finished video before export. Free
Quote: HyphenTech Make AI your superpower Local deployment · Free resources · Self-made software https://hyphentech.top
Late nights and burned API credits went in,a cup of tea comes back out — only if you feel like it.
Scan with WeChatPress and hold to save the image, then open it from your album in WeChat Scan

Comments
Loading comments…